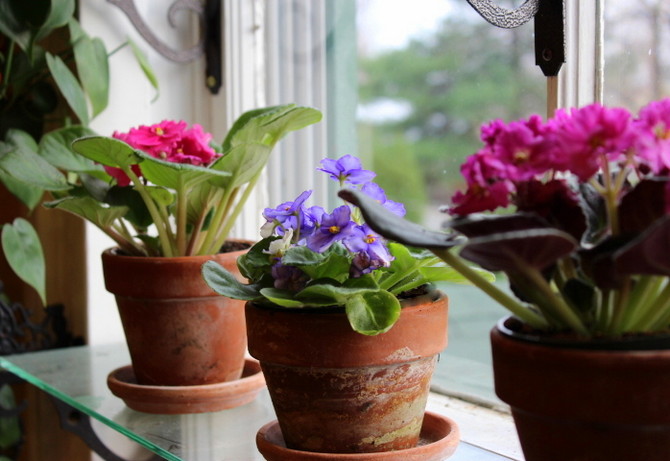
VioletKnown in floriculture as saintpaulia, it is a popular indoor herb that is quite capricious to grow and cultivate. This delicate plant, like all indoor flowers as they grow older, must be transplanted to preserve its decorative qualities and full development.
The first and most common reason for transplanting a pet is replacing a small flower container with a larger one due to the noticeable growth of the flower. In order to preserve it during transplantation and not harm further growth, it is necessary to take into account some factors. For example, when can and should be transplanted, in what ways and methods.
When a violet transplant is necessary
It is recommended to transplant violets once a year if at least one of the following factors is present:
- Bare stem at the bottom of the plant - transplanting will help make the plant more lush and blooming, which will enhance its decorative qualities and improve its appearance.
- Caked soil with high acidity and low nutrient content.
- The formation of white bloom on the soil surface - in such a soil mixture there is an excess of mineral fertilizers, which harms the growth and development of the plant, as well as low air permeability of the soil.
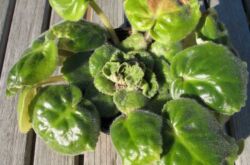
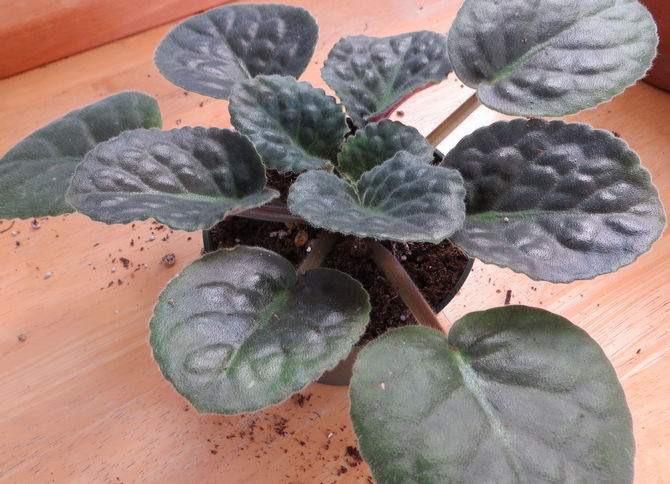
- An earthen ball tightly entwined with numerous old roots and young root shoots - to detect this problem, the plant must be carefully removed from the flower container.
When can you transplant a violet
Transplanting is not recommended in the winter, since there is not enough sunlight for the violets at this time, and in hot summer weather due to the poor survival rate of plants at such temperatures. In the autumn and spring months, you can transplant indoor flowers, but with additional lamp lighting. The most favorable time for a transplant is April, May.
It is undesirable to transplant violets during the period of budding and flowering. Firstly, a flowering plant is an indicator of its well-being, which does not require transplanting, and secondly, it can suspend the flowering process for a long time. Transplant violets after the end of the flowering period. There are, of course, exceptions to the rule. If the plant has been attacked by pests or some kind of disease has appeared, then it is necessary to transplant the flower, despite its development period. Plant rescue should come first.
Emergency transfer should be carried out by transshipment method. The earthen lump must be pulled out of the container very carefully, without damaging its integrity, having previously moistened it. When preparing the soil for transshipment, care must be taken to prevent moisture from getting on the violet leaves. If the plant has buds or flowers, they must be cut off. This will contribute to the early survival of the indoor flower in the new pot.
How to transplant a violet correctly
It is recommended that when transplanting violets at home, strictly follow all the basic rules:
- When using a used flower container for transplanting a plant, you must take care of its careful processing. All salt deposits must be cleaned and washed with laundry soap.
- Each plant transplant should involve the use of a flower pot that will be slightly larger in height and width than the previous one.
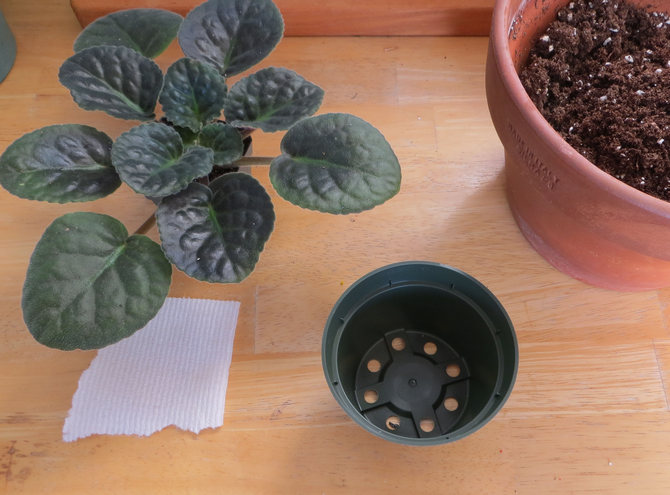
- Since clay and ceramic pots contribute to the rapid drying of the soil, it is better to use plastic containers or flowerpots for transplanting violets.
- The soil mixture for violets must be water and air permeable. The mixture should contain all the necessary nutrients and feeding. It is advisable to add peat and coarse river sand to such a soil mixture.
- The first layer in the flower pot should be a drainage consisting of expanded clay or moss, and then the prepared soil.
- The plant should be buried in the ground so that the ground does not come into contact with its lower leaves. Contact of the soil with the leaves will lead to their death.
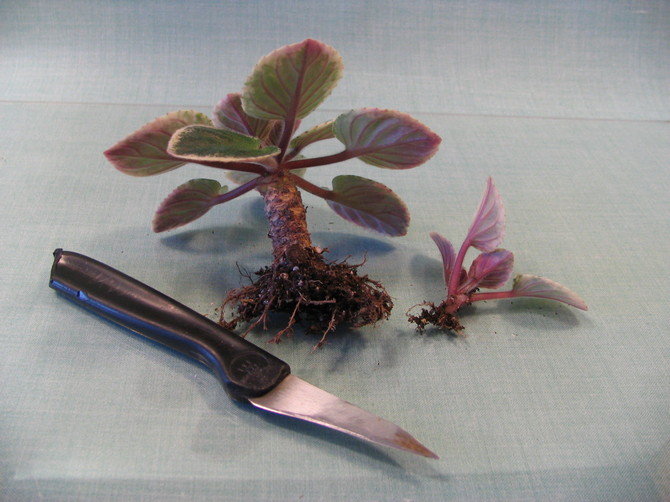
- Before planting violets in a new pot, it is necessary to rejuvenate the plant by cutting off the largest foliage and root part.
- Watering immediately after transplanting is not carried out. It is recommended to cover the plant with a transparent film for a while to maintain the required moisture level in the soil.
Violet transplant methods
Violet transplanting methods depend on the reasons why the plant needs to be moved to a new container. For each method, you will need plastic flowerpots, soil mixture and free time.
Most often, transplanting is carried out in order to replace the old poor soil with new nutrient. Such external signs of a plant as a bare stem, wilting, as well as souring of the soil indicate that it is necessary to completely change the soil in a flower pot.
First, you must carefully remove the plant along with the earthy clod and carefully clean each root from the soil. Peeled roots must be carefully examined, get rid of rotten and damaged parts. The upper part of the plant also needs to be cleaned of yellowed leaves and dry faded buds. After that, all places of cuts on the stems and roots must be sprinkled with powdered activated carbon.
If during transplantation most of the root system was removed, then the container for the flower will need not be larger, but smaller. Drainage is first placed in the pot, then the soil mixture (two-thirds of the total mass), then the plant is placed and the remaining soil is poured to the level of the lower leaves. The first watering is carried out only a day after the transplant. If necessary, after a few days, when the soil has settled, you can add some more soil.
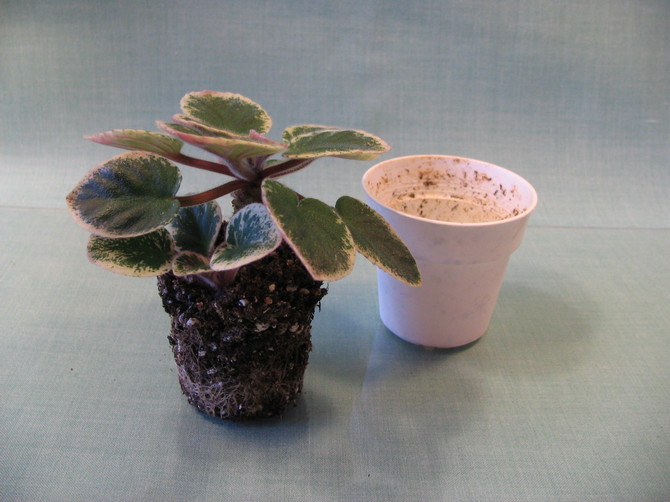
If you need to partially renew the soil, you need to take a larger pot and a suitable potting mix. The violet is removed from the old pot together with the earthen lump, slightly shaking it off the old earth. In the new container, a drainage expanded clay layer is required. This method is suitable for miniature plants.
Transplanting Saintpaulia using the transshipment method
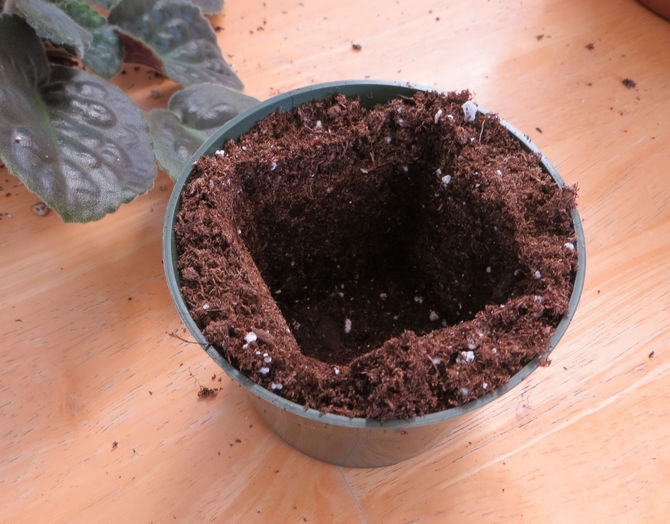
The transshipment method is used for transplanting violets during illness, as well as with a densely overgrown outlet. This flower transplantation implies the complete preservation of the old earthen coma. Fill the new pot with a good layer of drainage, then add some fresh soil. Insert the old one into the new pot in the very center. We fill the space between the containers with soil, tapping on the walls for better compaction. After that, we take out the old container and plant a violet in its place along with an earthen lump. In this case, the surfaces of the new and old earth should be at the same level.
Subject to all the rules of care, the violet will certainly delight with its exuberant flowering.