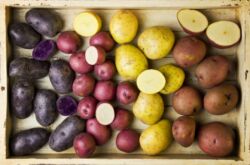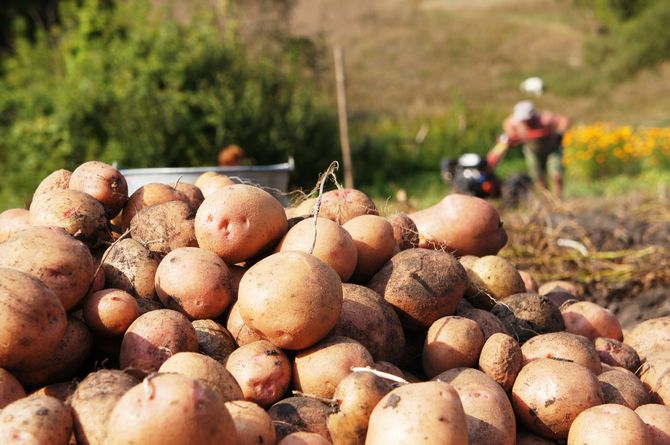
Potato varieties must be renewed every 5-6 years. Indeed, from year to year, the potato crop decreases, the tubers begin to be poorly stored, the susceptibility to diseases decreases, and the quality characteristics do not change for the better. The renewal can be carried out independently without spending a lot of money on the purchase of new seed potatoes.
There are five proven methods, each of which you can apply in your summer cottage or garden.
Method 1. Growing planting potatoes from seeds
The seed method of growing potatoes is rarely used by anyone. Some have forgotten that this vegetable has seeds. But after flowering on many potato bushes, small green balls are formed, similar to unripe tomatoes. They contain potato seeds. With their help, you can grow planting potatoes.
First, the fruits must be collected in a cloth bag and hung in a well-lit and warm room until they are fully ripe. When the fruits are light green and softer, you can select seeds from them, rinse them thoroughly and leave to dry. By the way, you can buy any seeds in specialized stores without unnecessary hassle, only a pure variety, and not a hybrid one, is mandatory.
This method has many advantages:
- Inexpensive seed price.
- Seed germination persists for a long time (about 10 years) and does not require special storage conditions.
- Seed potatoes are resistant to various diseases.
Of course, growing mini-tubers will take a lot of effort and patience, but the result is worth it. This challenging potato growing process will reward you with excellent planting stock for several seasons to come.
Method 2. Growing mini-potato tubers from a large tuber
This method is based on the cloning of potato tubers. The cells of the grown potatoes are used to form a new plant. This "scientific experiment" will require large potato tubers, from which we will grow small ones. They must be selected in the spring and lowered for the whole summer in a cool basement or cellar.
Throughout the summer season, tubers need high air humidity, spraying and low indoor temperatures. By about October-November, a strong root system with small potatoes will be formed on the potato tubers. It is an excellent planting material that is protected from all diseases.
All mini-tubers must be harvested, dried well and stored until the next planting season. Already next year you will get a great harvest of the super super elite.
Method 3. Growing mini-potato tubers from cuttings
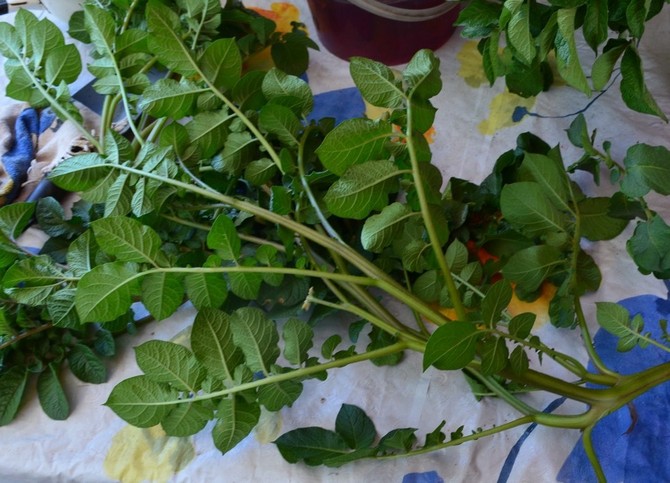
You can try to update the varieties by cuttings. To do this, you need to choose the strongest and healthiest potato bush during its summer active growth and development, mark it in the garden and wait for the end of flowering.
After that, we take the required number of branches from the bush and cut them into small cuttings (no more than 4 centimeters in length). At least one leaf should remain on each such cuttings. For cuttings, only the middle parts of the tops are used. Prepared cuttings must be soaked in a weak manganese solution (about 4 hours).
The site for planting cuttings should be selected in a shaded place, without direct sunlight. It is recommended to plant potato cuttings on a gloomy cloudy day or after sunset. The soil in the beds must first be fluffed and moistened. The distance between the beds should be at least 20 centimeters, and between the plants - about 3 centimeters.
When planting cuttings, it is very important to sprinkle them with soil so that the potato leaf is also covered with earth (approximately 60-70 percent). It should be upright.
Immediately after planting, a mulching layer is laid out on the beds and abundant watering is carried out. After 15-20 days, the tops will turn yellow and dry, and the formation of a mini-tuber will begin in the soil. The tuber will receive all the necessary nutrients for its development from the leaves. Two more weeks will pass, and it will be possible to dig out the cuttings with grown tubers.
Mini-tubers grown in this way must be disinfected (in a weak manganese solution), thoroughly dried in the sun and folded for storage in bags made of natural fabric. They will be perfectly preserved until the next planting season.
Method 4. Growing seed potatoes from the tops of tubers
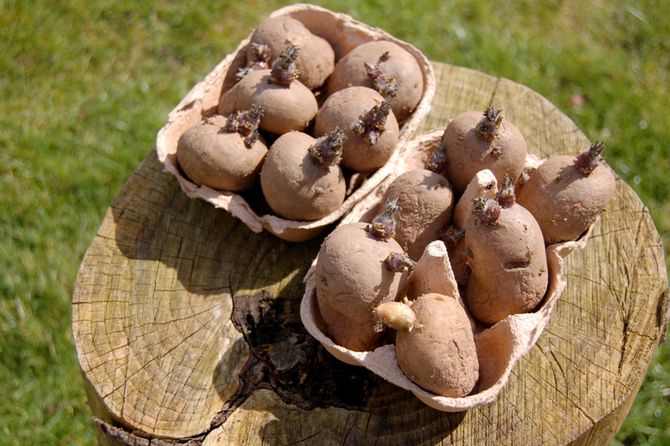
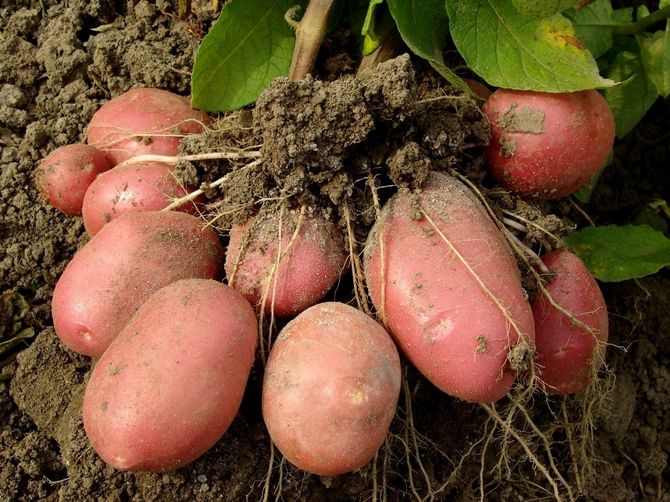
This method is as simple as the previous one. The tops of the potato tubers will now be used. The largest potatoes of the best varieties are selected at harvest time (late summer - early autumn) and set aside separately for storage and germination until spring.
In the spring, all these tubers are pruned - the tops, along with the sprouts, are cut by about one third. All these trimmed parts are laid out in sawdust, sprayed abundantly with water and left until germination. The remaining parts of the tubers can be used for planting in the ground in the standard way.
After about three weeks, the potato tops will sprout and take root. This means they are ready to be planted in open beds. The tubers are planted at a distance of at least thirty centimeters from each other at a depth of about five centimeters.
Method 5. Growing seed potatoes from sprouts
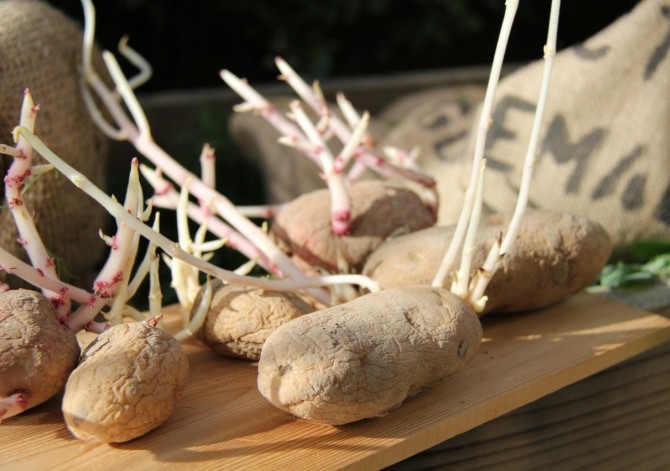
If you want to renew the variety very quickly, in a short time, then this method is the most suitable. More than forty bushes can be grown from one potato tuber in this way.
Take a closer look at the sprouted potato tubers. They differ from each other by sprouts. Some sprouts are strong and juicy (green), while others are pale and half-withered. And this is because the former grew in the light (light), and the latter in the shadow (shadow). Both types of sprouts can be used for planting. They are planted either directly into the ground in the beds, or in individual pots.
Shoots grown in the light should be planted together with the rudimentary roots and only one at a time. The shoots formed in the shade will have to be cut into small pieces, each of which should have a bud. Both types of sprouts are covered with soil for about two-thirds.
High-quality soil is of great importance for growing plants in this way. It should contain all the necessary amount of nutrients, so you cannot do without top dressing. Fertilizers are applied once a week. It is advisable to feed the potatoes one by one: one week - with herbal or ash infusion, and the other - with vermicompost infusion.
When harvesting sprout potatoes, choose the best tubers and save them for the next planting.
The selection of planting material for the next year is recommended to be carried out carefully.Spot and mark the strongest, healthiest potato bushes throughout the summer season. When harvesting, it is necessary to leave not only large specimens from such bushes, but even the smallest potatoes. Then it will be necessary to update the varieties only after 6-7 years. Get rid of the tradition of leaving only the smallest potato tubers for planting. With such planting material, it will be necessary to update potato varieties every 2-3 years.